Programs Required
- CAD program (preferably SolidWorks)
- Ultimaker Cura software program
Material used
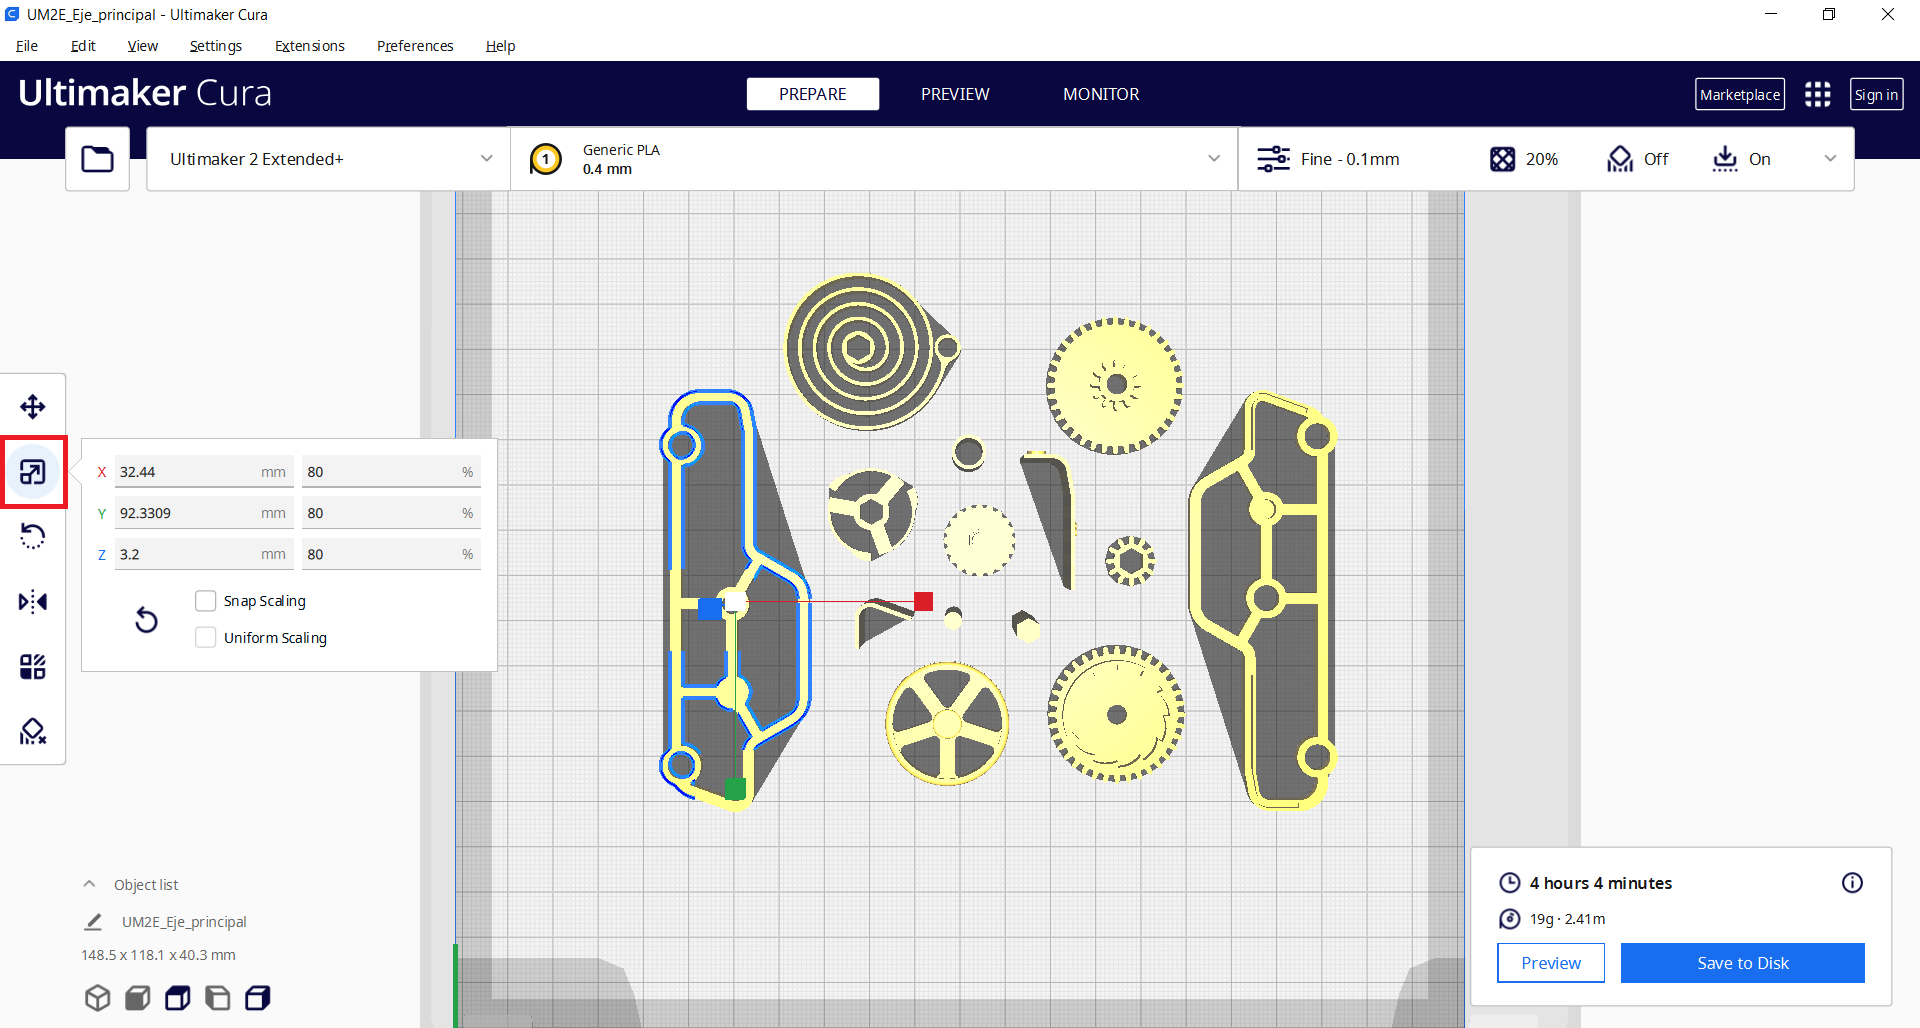
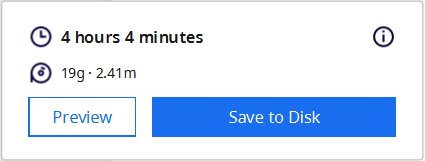
- 19g, 2.4 meter fillament
- 4h 4min printing time
Step 1 - Download the Design
Go to the Google Drive link here to download every part of the toy car
Step 2 - Customize your Car
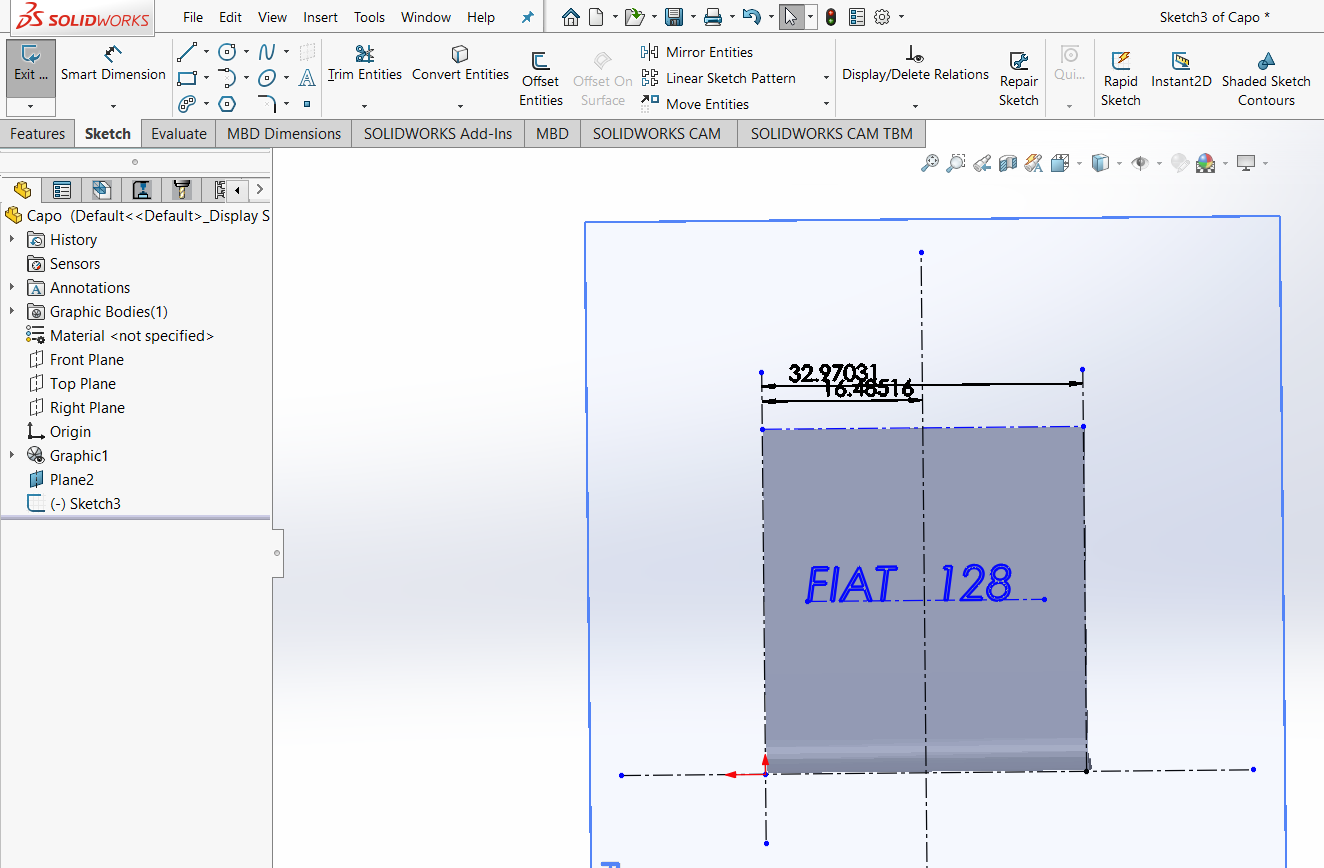
- Open the file named "Capo" in SolidWorks
- Open a sketch and select the top plane
- Sketch the desired shapes or works you want on the hood of the car In the picture below you'll see that I added Fiat 128, because this toy model looked like the old 128 cars that I see roaming the street in Egypt.
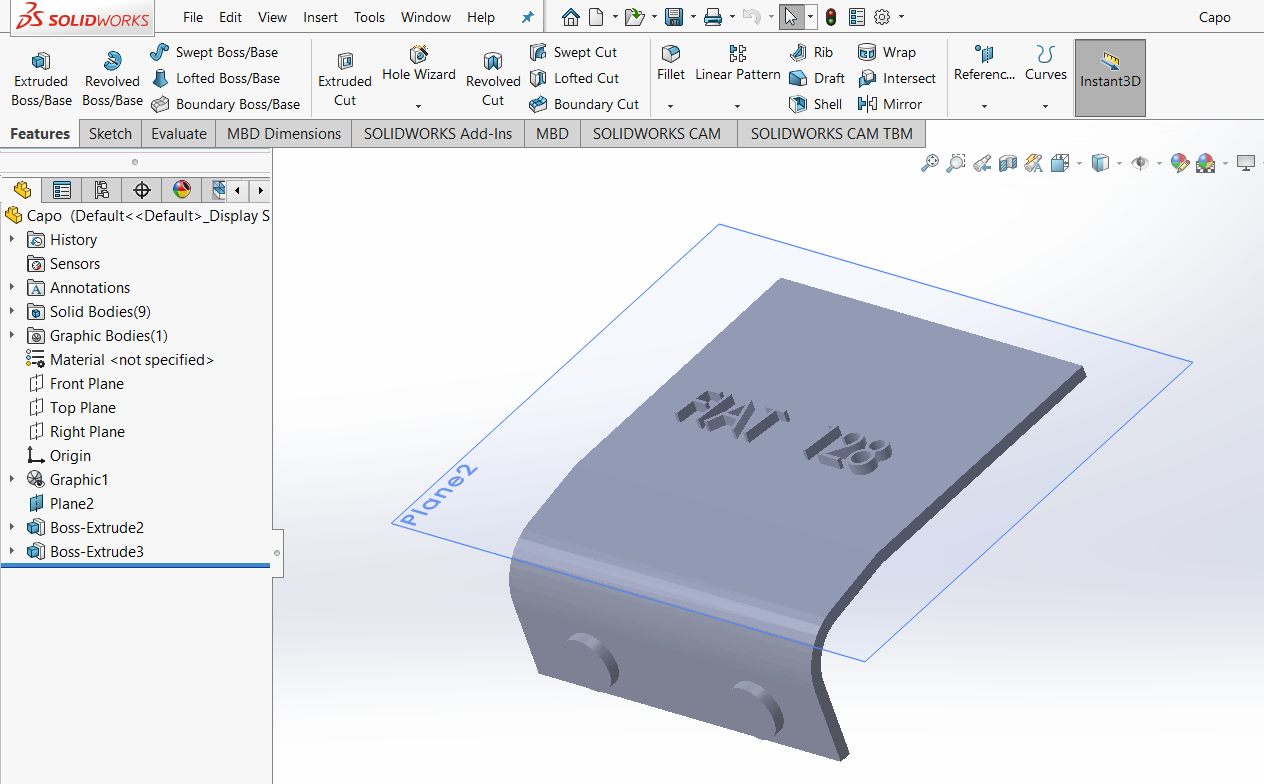
- Select Featueures > Extrueded Boss/Base.
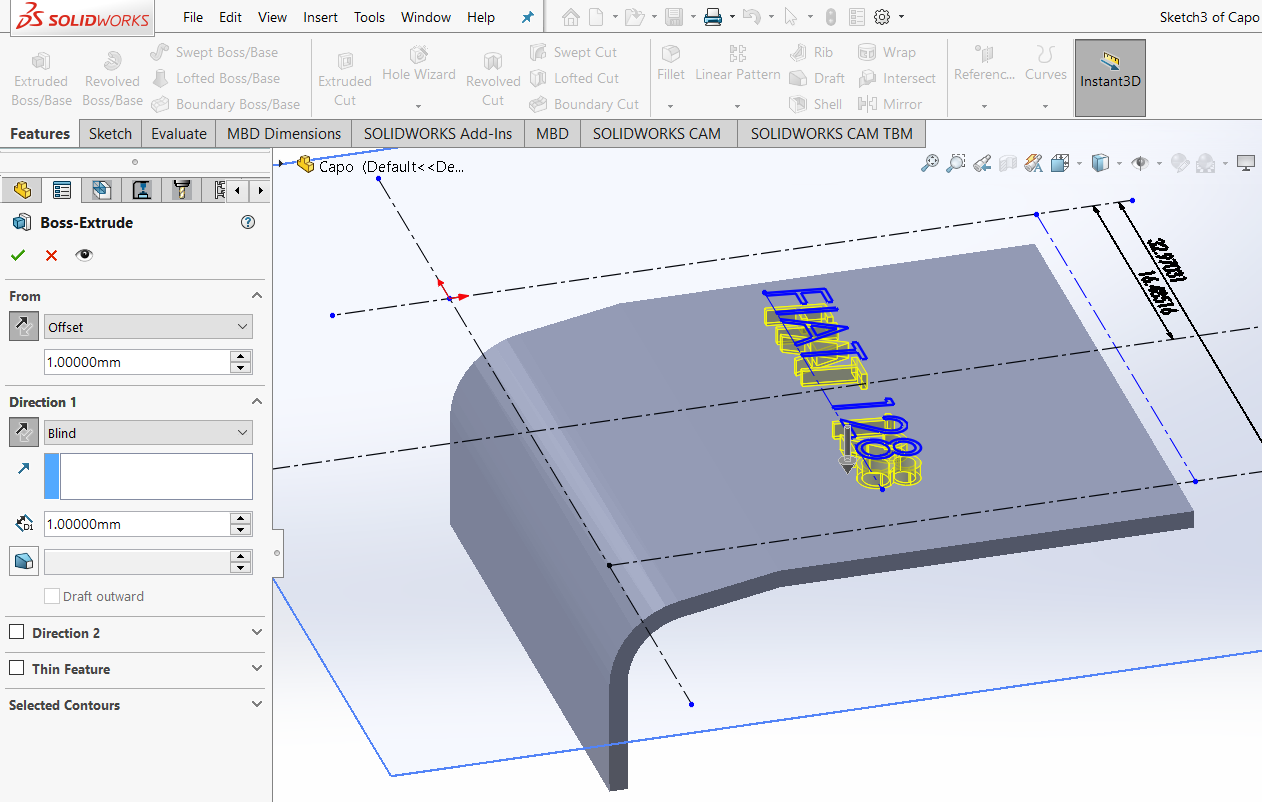
- Click OK
- Open up new sketch and select the front plane
- Sketch two headlights in the front like in this picture below
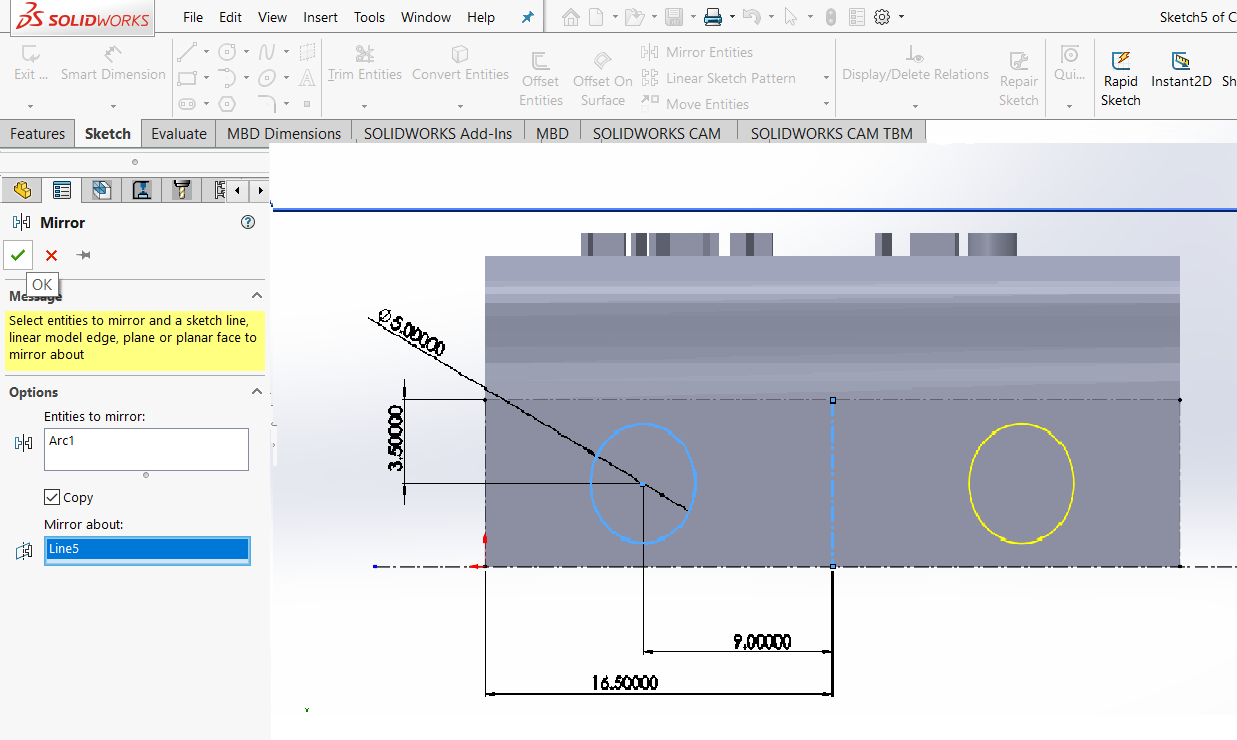
- Select Featueures > Extrueded Boss/Base.
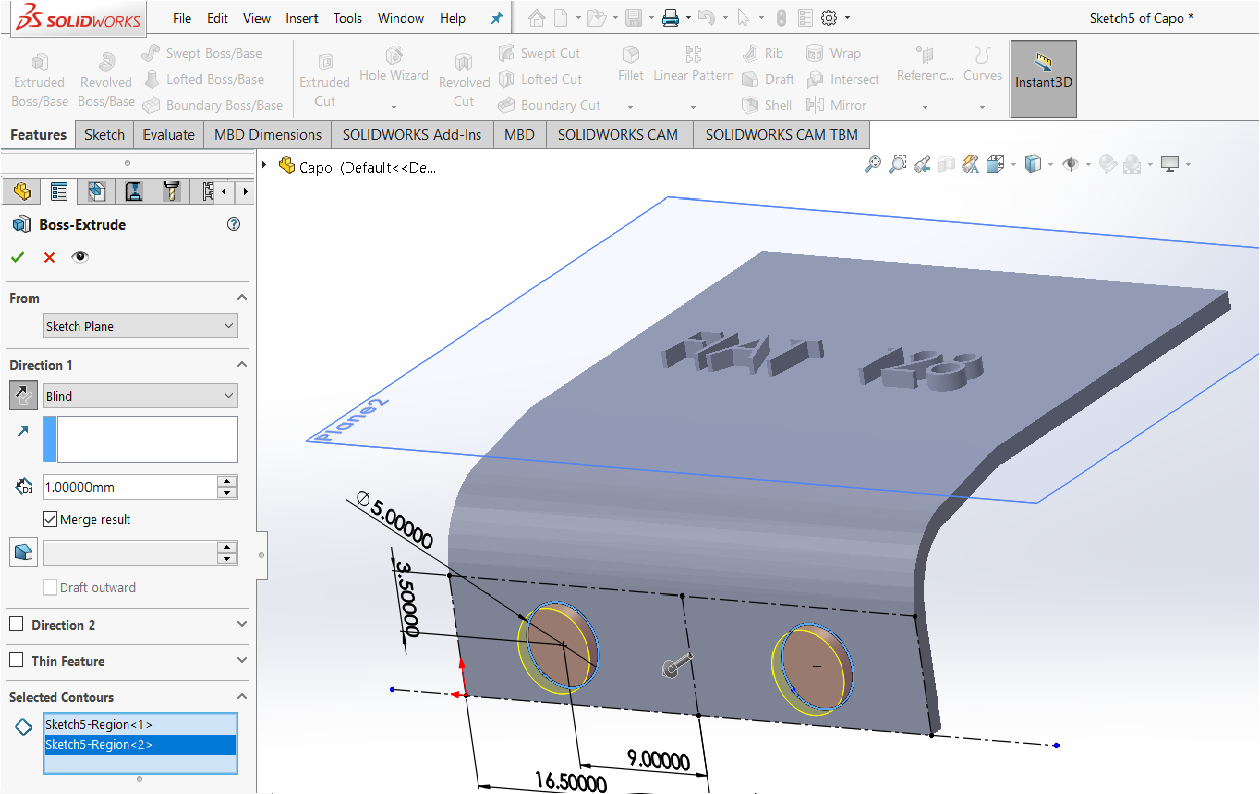
- Press OK
- Make sure to save the file as .STL
Step 3 - Setup Ultimaker Cura
- Open the STL files in Ultimaker
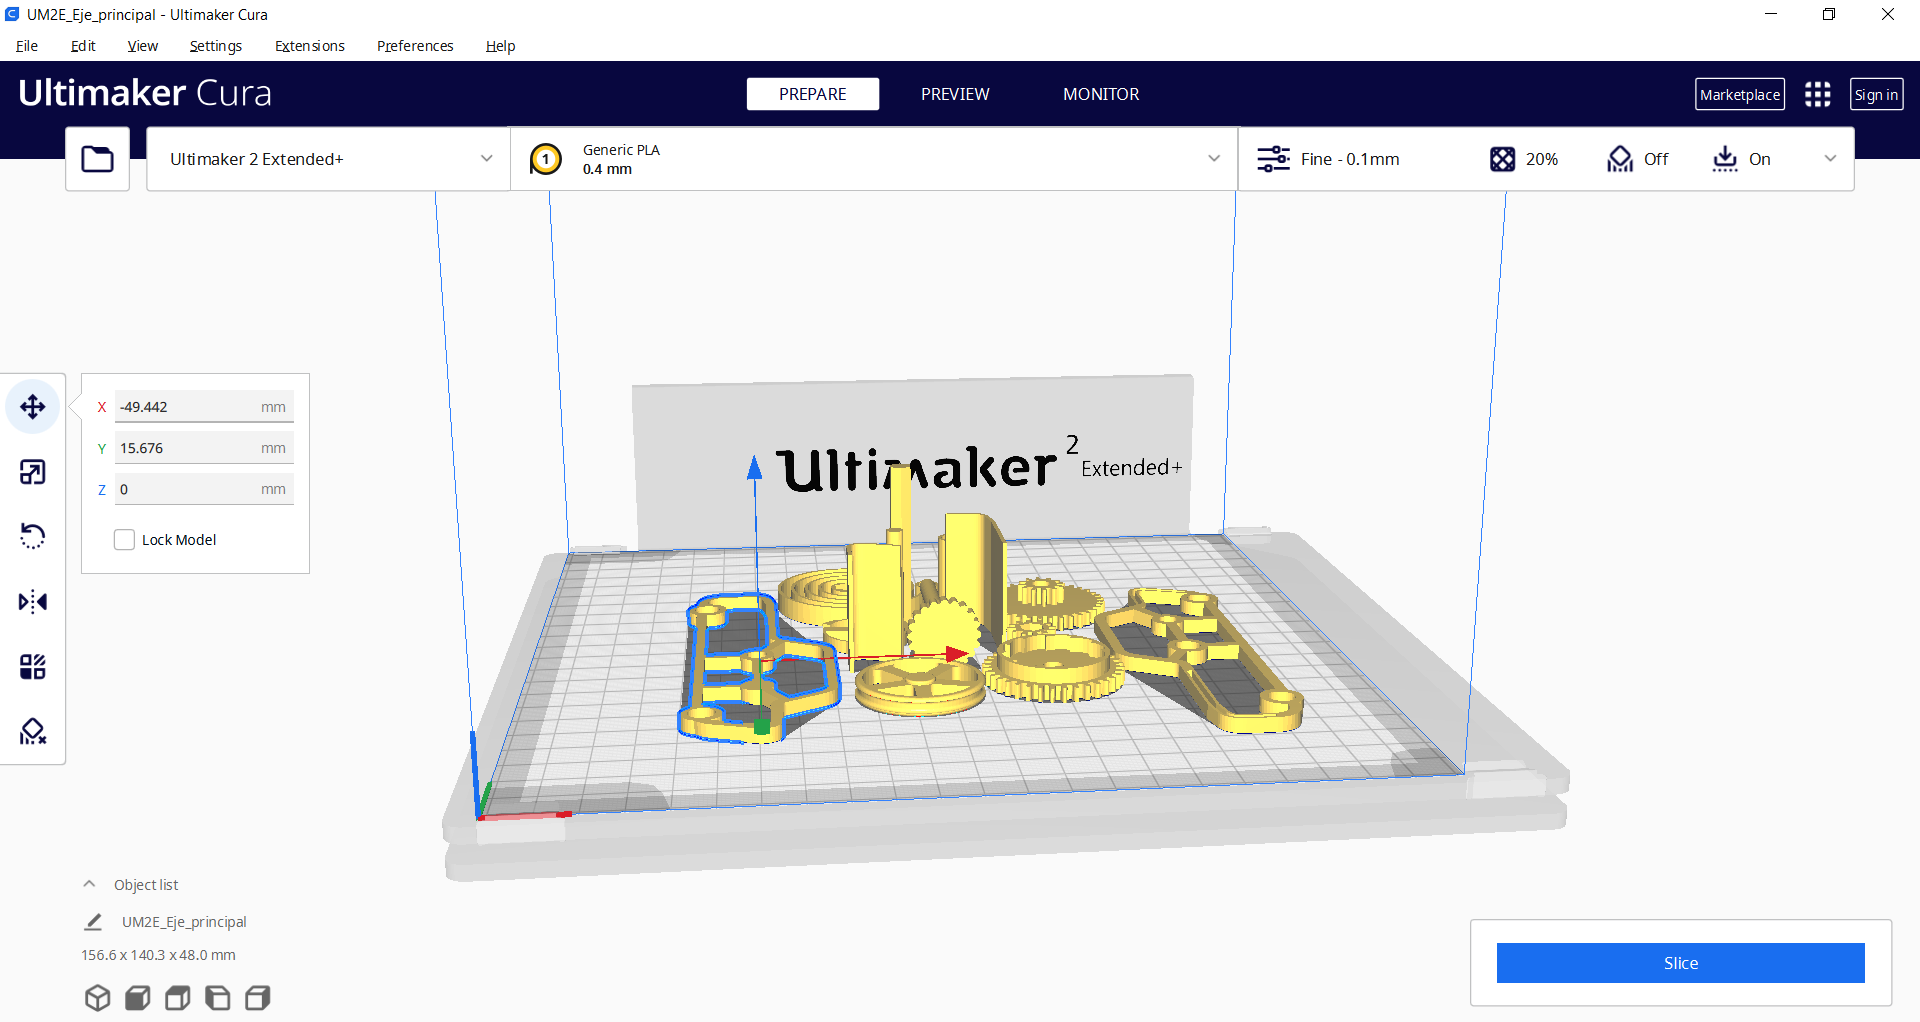
- Select the part and resize it as desired (here I resized each part to 80% its original size)
- On the bottom right corner press the slice button, it will give you deatails on the durration of the printing and the material used
- Save the file as GCODE and put it in the SD of the 3D printing machine
- Insert the SD card and begin printing
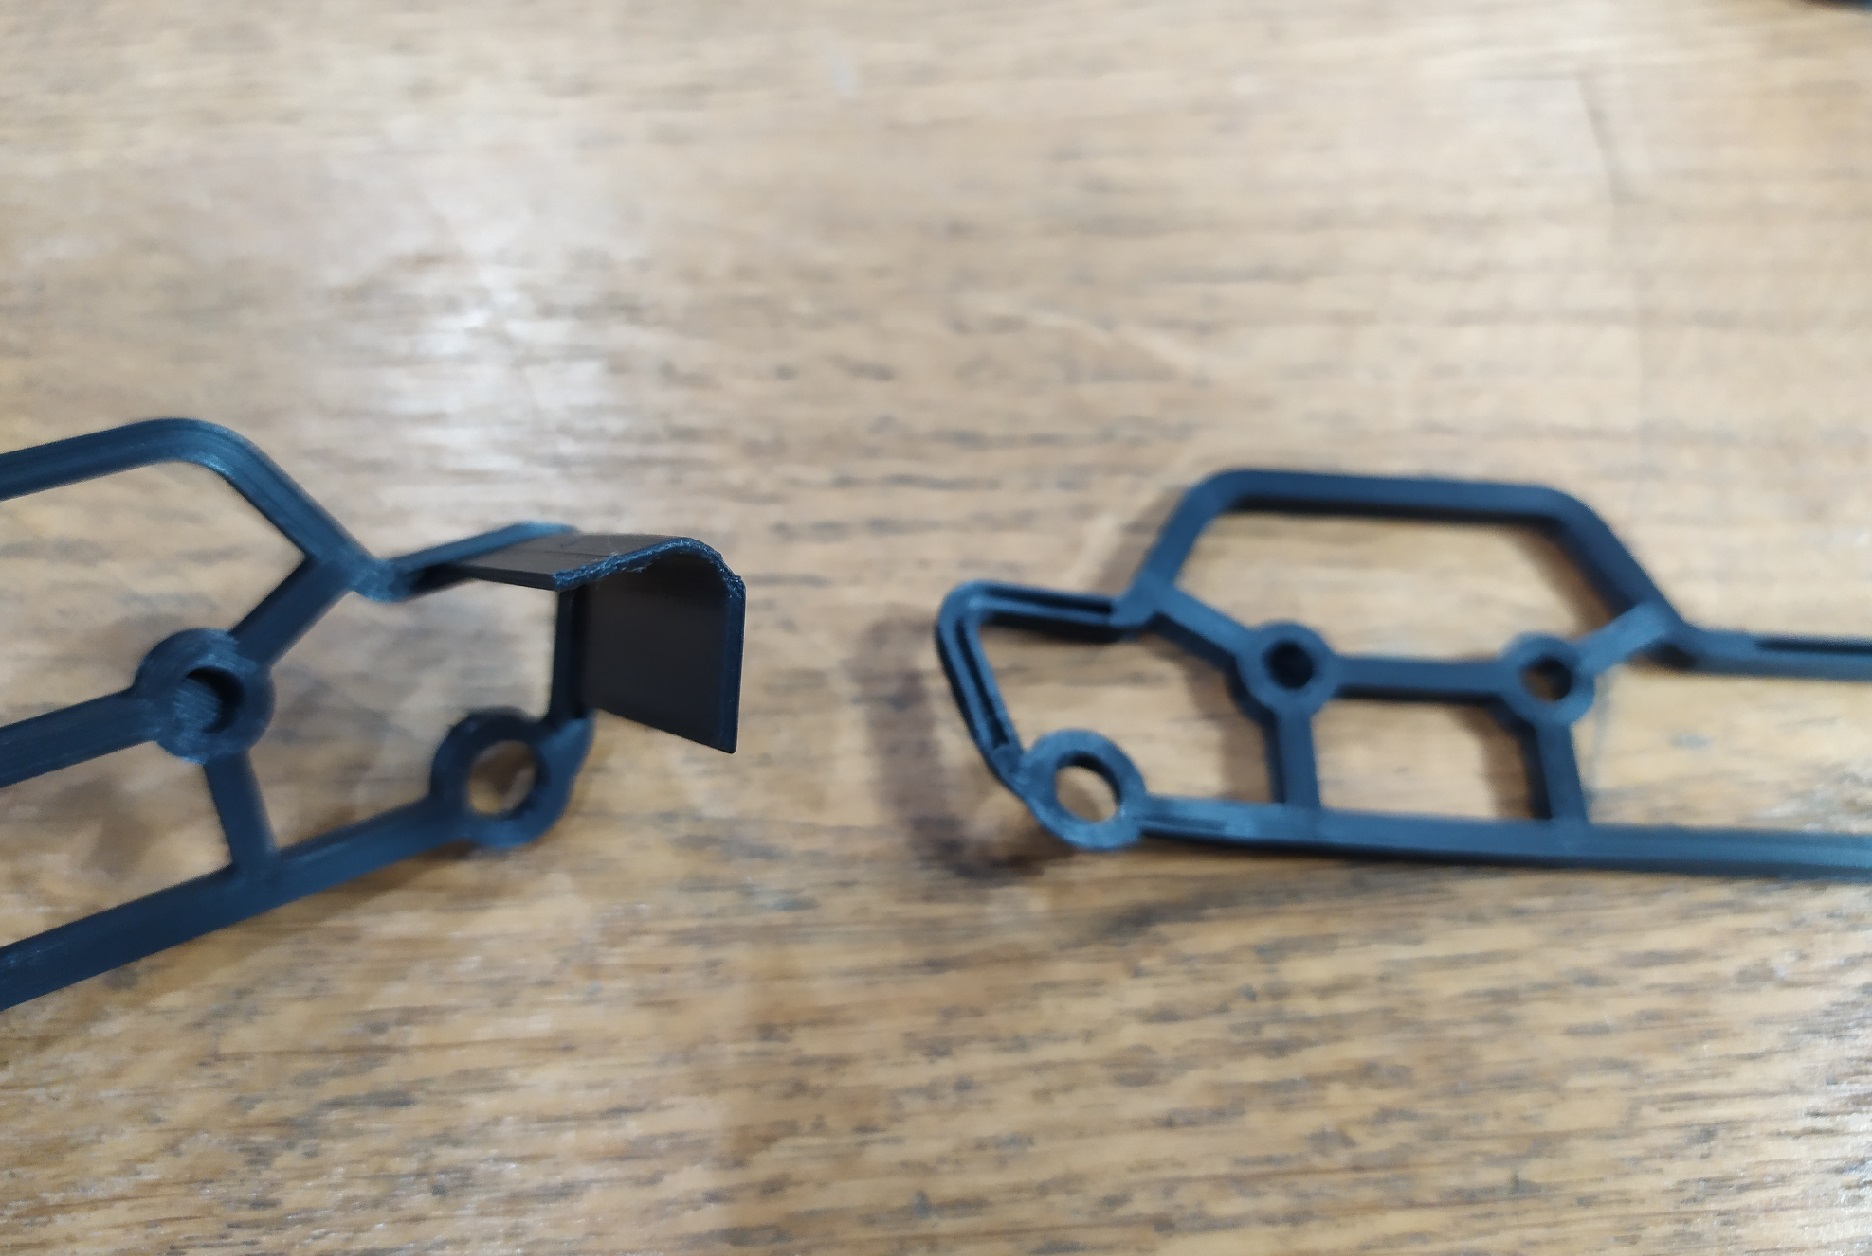
Defects
This component of the car was worped so it could not fit in its original place.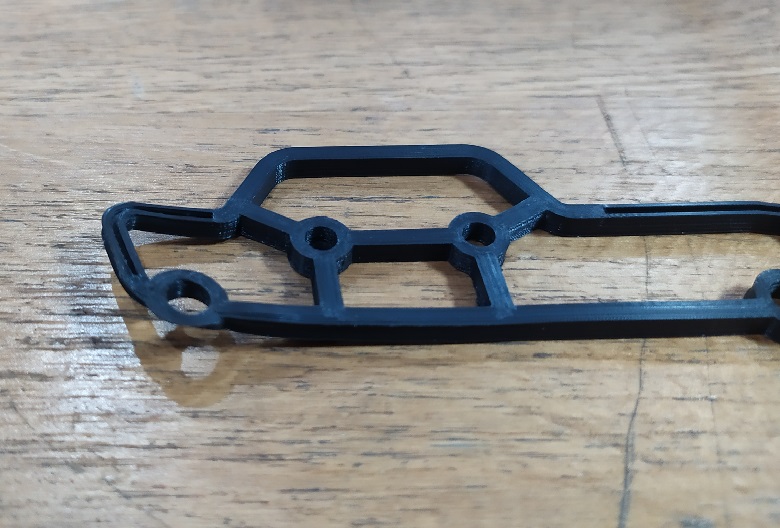
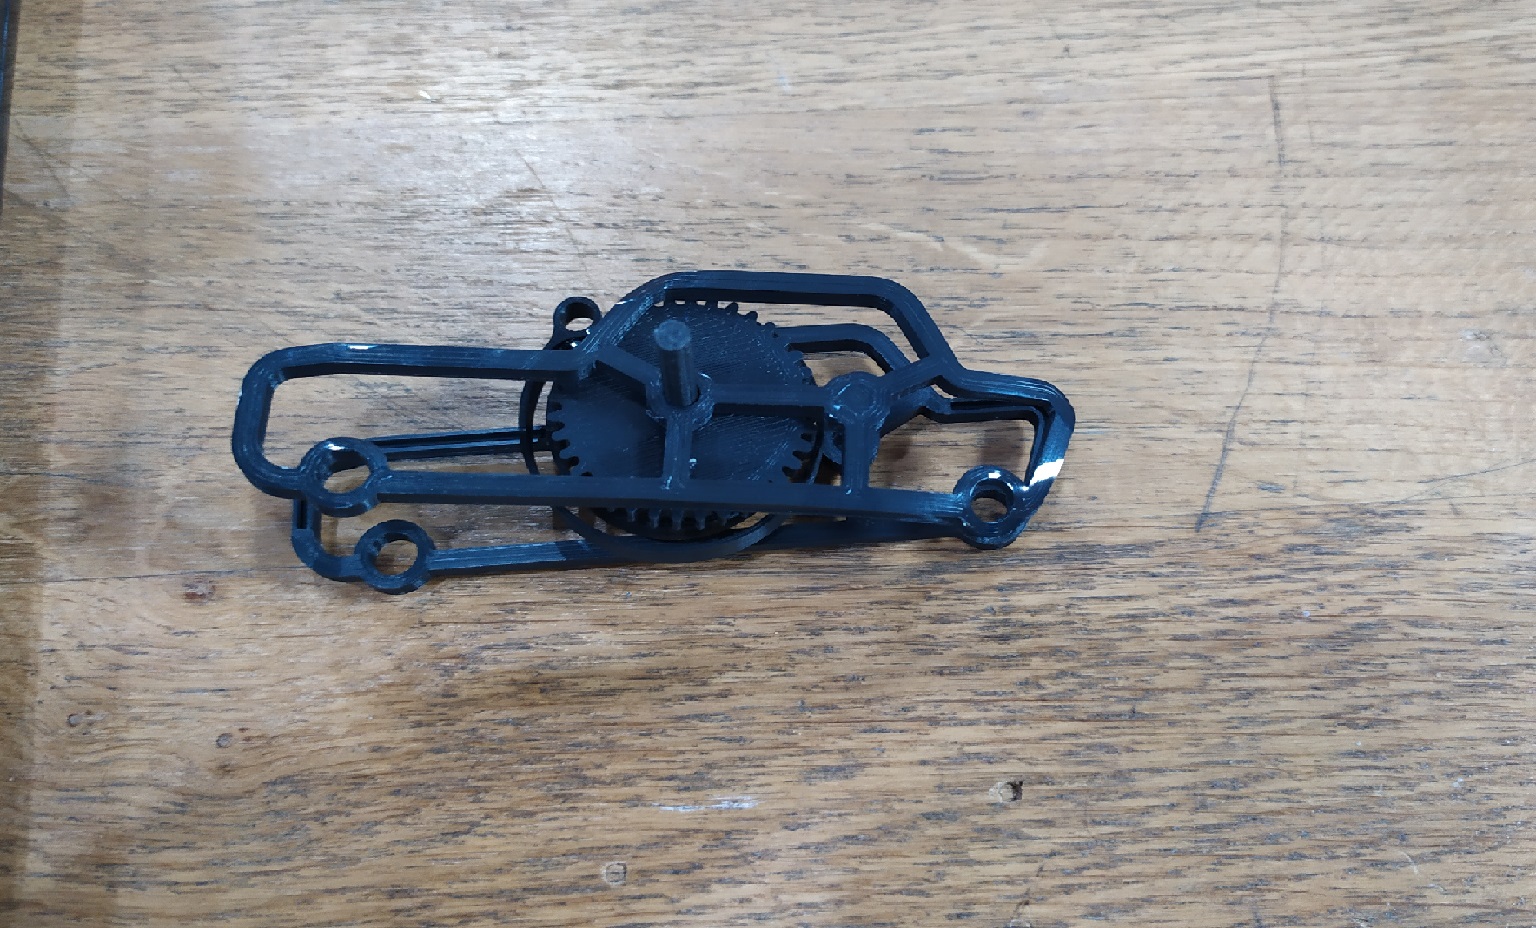
Final Resuly
Individual parts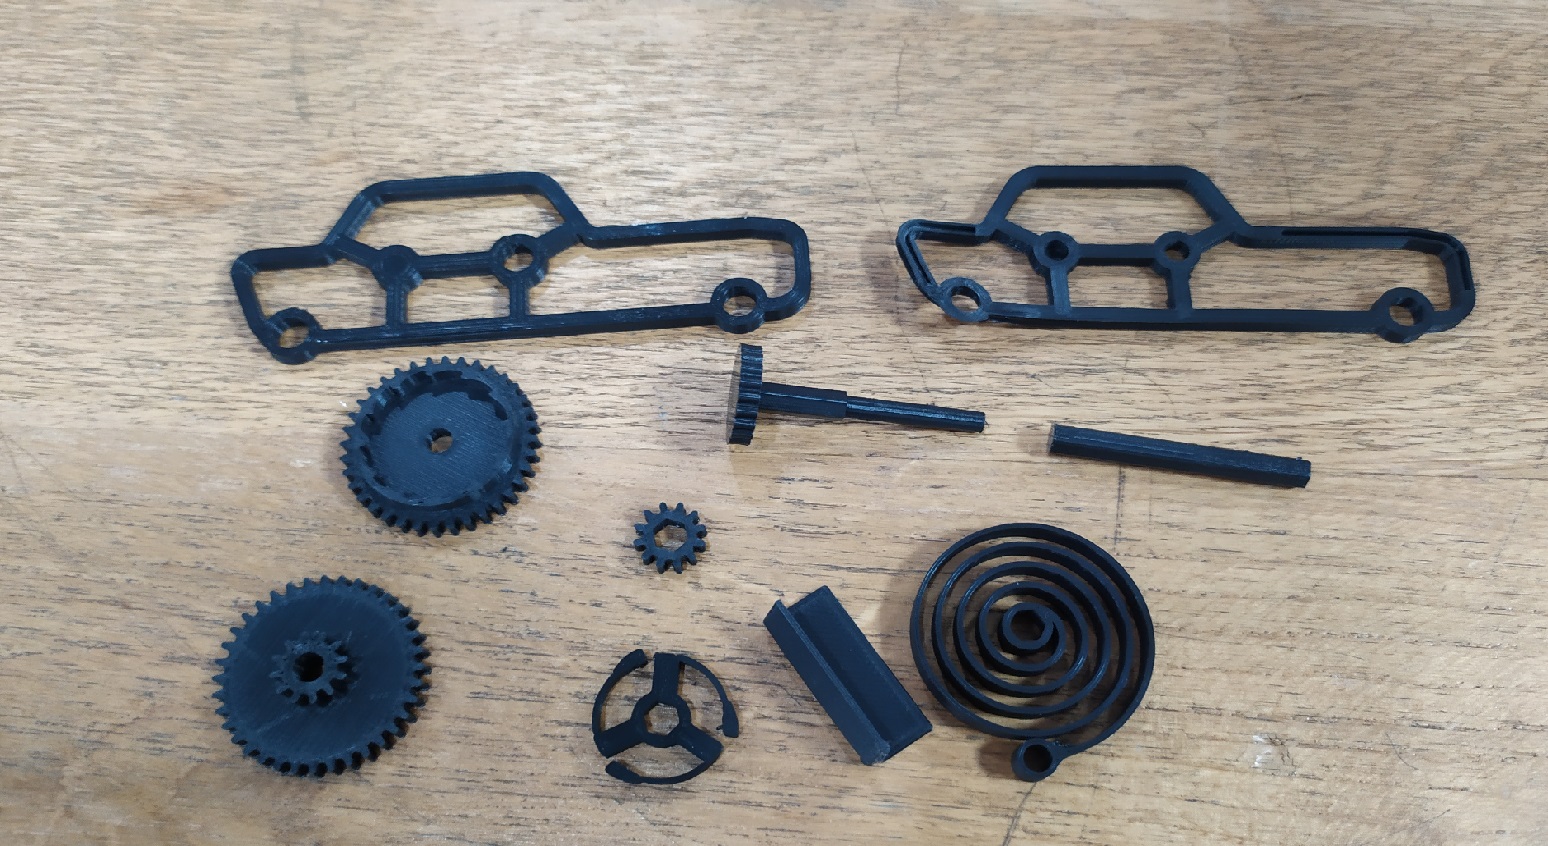 Assembly